Hopefully you’ve heard the hype about the Google Cardboard Virtual Reality kit by now. If not then let me just quickly summarise it for you…..
Google Cardboard is a virtual reality (VR) and augmented reality (AR) platform developed by Google for use with a head mount for a mobile phone. Named for its fold-out cardboard viewer, the platform is intended as a low-cost system to encourage interest and development in VR and AR applications.
Can you simplify that!
In simple terms you assemble a piece of cardboard and turn it into a headset allowing your mobile phone device to sit nicely inside it. The headset will also consist a pair of lenses that project the display in 3D giving you a true VR experience.
So how do I get one of these bad boys?!?
Well you can go complete DIY by obtaining the parts yourself such as a sheet of cardboard, Velcro strips, lenses etc. However, that would require a lot of patience as you’ll need to work out the dimensions and use the scissors to cut out the shape of the device.
OR
You can just simply purchase a ready-made device, which most likely will made hard plastic but there isn’t any fun in that is it.
OR
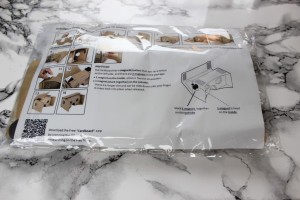
You can go semi DIY like I did by purchasing an affordable Google Cardboard kit from Amazon that contained all the bits and pieces you needed:
So what’s inside the packet?
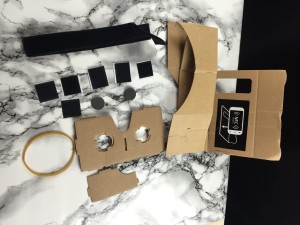
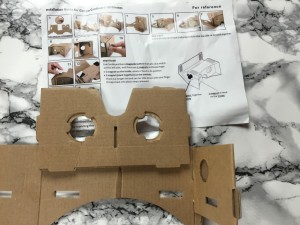
When you take out the contents from the packaging you should have something like what’s shown below:
- A pair of small round magnets (these will function as buttons).
- 6 small pieces of Velcro strips.
- A rubber band – to secure the unit once assembled
- An elastic stretchable strap – to place around your head whilst wearing the device
- A cardboard piece with a pair of lenses already attached.
- A larger cardboard piece, which will be the main body of the device.
- A small cardboard piece – used to help divide the screen into two for each lens.
- An iPhone 6 – OK I was just joking about this one but you will need to use your own iOS or Android device afterwards.
Sounds good, is it easy to assemble?
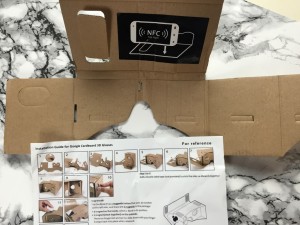
It sure is! The kit came with some basic instructions along with pictures to help you along the way in each step. However, I’ve kind of adapted this in my own version and here goes….
-
STEP ONE
The easy part. Remove any surplus pieces of card.
-
STEP TWO
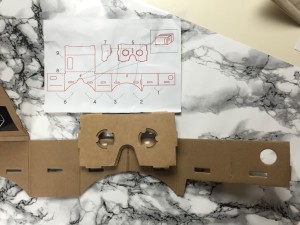
Position the pieces similar to how they are shown in the image below and use same numbering system too.
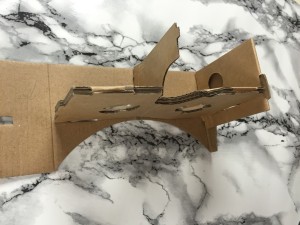
Fold the section 1 (of big piece of cardboard) onto itself and click in. Rotate piece number 5 around as shown in the pic below and click into the relevant slots on the bigger piece.
-
STEP THREE
Grab piece 7 and click one side of it onto piece 5 and the side between sections 2 and 3 as shown below:
-
STEP FOUR
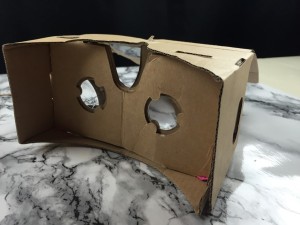
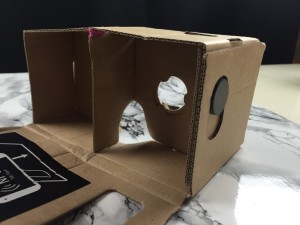
Now fold over the remainder of the cardboard (biggest piece) over the other pieces and click into place. This will form a box shape as shown below:
If the shape keeps falling apart then you may wish you secure it by using a little sticky tack or sticky tape like I did.
-
STEP FIVE
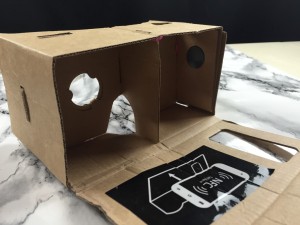
Place one magnet on the inside of the box. It should fit nicely inside a circular cut out. Then place the other magnet on the other side of the cardboard so that they both attract one another.
-
STEP SIX
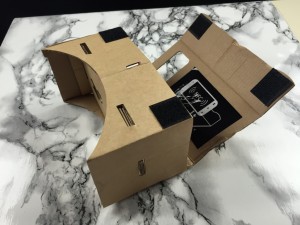
You’ll be left with a flap, which will act as the lid to allow you to insert or remove the mobile device. To help keep this flap closed you will need to use four of the Velcro strips. You will need to use two of the soft pieces in the corners whilst the ones with wires will go on the opposite ends as shown below:
-
STEP SEVEN
This bit is optional, but you can stick the remaining two Velcro strips to the outside of the box and attach the elastic strip to them. Also the elastic rubber band can help prevent the device from falling apart.
-
STEP EIGHT
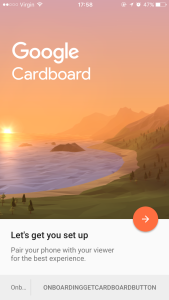
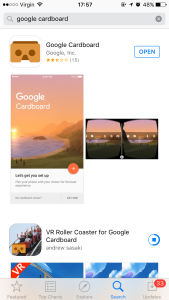
The exciting part! This is where you download the Google Cardboard app on your iOS or Android device, launch it and simply follow the instructions.
Once done you simple insert the phone into the Google Cardboard box and brace yourself for a truly Virtual Reality experience!
Just slap the device on your head and peer through the lenses. You should be able to control the view whilst moving your head in any direction.
Oh…. The magnetic on the outside of the box will act as the select button or allow you to move forwards depending what VR scene you’re in.
Enjoy!
Again, you can get one of these from Amazon or Ebay.
The direct link to this particular product is here.
Let me know how you get on and please share if you found this useful!

